How to Hang Huge Posters: A Couple of Ideas to Keep Scarface Out of the Garage
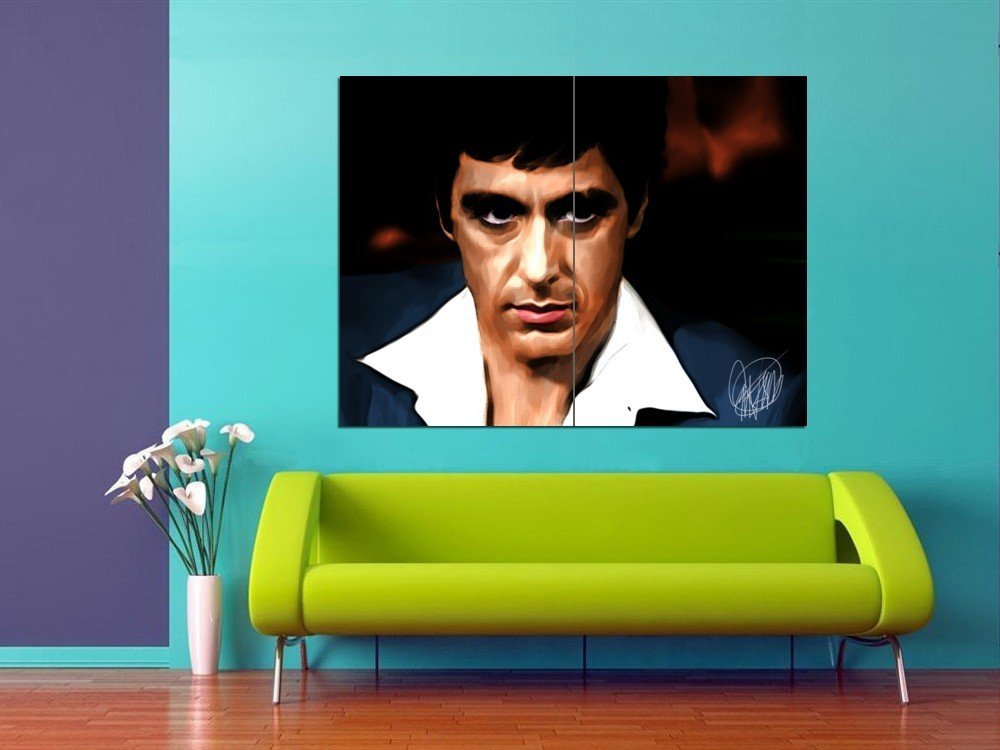
LOVING this print! Click here to buy from VerettiPosters
So you have this AMAZING poster, and you have had it for, umm, let’s say 15 years or more. The edges are frayed, you’ve taken it up and down every place you’ve lived since your dorm room, but now you’re married. And the wife/husband hates it SO hard. How can you get her/him to love this massive poster? Here are a couple of ideas to breathe fresh life into your Scarface, Taxi Driver, Goodfellas, Casablanca, Breakfast At Tiffany’s, or other classic movie posters that deserve a second chance at life.
To begin, if your poster is a representation of everything your partner detests (ahem, Scarface) you might have to bargain on hanging it in your office or other “you” space. However, if you play your cards right and really class this print up, your honey mama or papa may just have a change of heart.
Having a poster that’s three feet by four feet or more framed is going to set you back about a billion dollars, plus or minus. Nevermind the matte board and all that other jazz, like picking out glass. Besides, you don’t want this rad poster hanging inside a super cheapo frame just so you can say, “Hey, it’s in a frame.” This is Tony Montana for crying out loud, man!
Roll your colossal poster up carefully, and take it down to the frame shop. There are a couple of things they can do that will be less costly but still give you a sweet piece of movie art to hang on the wall in a public sitting area of your home (rather than the garage wall). For example, and you’re going to wince here, but they can cut the poster into equally sized portions and frame each of those individually. Doing this with thin, pearl or matte black frames, you have now actually created a cool collage with your once one-piece poster. In addition, framing in this manner will hide the frayed edges of the corners and sides. Now you have ART! “Hey babe, this is a montage, not a college poster, get with the times babe…”

Click here to buy glossy Mod Podge!
Another idea is to keep the poster intact and buy a window shade large enough to accommodate it (you can usually find these at Ikea online, among other places). What you’ll do (with the help of a couple buddies) is completely roll out the window shade, apply Mod Podge first to the back of the poster and apply poster to the pulled down shade. Once you have it affixed in the perfect position and let it set (while you have a glass of wine or a beer or virgin-colada) you’ll then apply a thin coat of Mod Podge across the entire top of the poster AND window shade. This will give the whole surface a nice clean, sheer and glossy look. Naturally, given the literal size of this project, you’d rather be overstocked on Mod Podge than understocked—you can always return unopened bottles or keep them on hand for other fun DIY hanging projects and more.
If your poster is CAAARRRAAAAZY huge, consider looking into thrift stores for old projector screens—not only will they work just as well, but the projector screen hardware at the top will add a cool vintage look to your poster, making it a true piece of art and taking away that dorm room feel. Make sure you clean thoroughly with soapy water and allow it to dry for at least 12 hours before you start adhering your poster. The last thing you want is to forever have some science teacher’s hair embedded with adhesive that’s impossible to remove right across Al Pacino’s nose.
And lastly, and probably most affordably, you can adhere your old enormous poster to, you guessed it: poster board! While this is an option, it’s not one that’s going to give you tons of longevity, and the corners can be easily bent. Unless you plan on dipping the whole thing in liquid glass, your best bet is one of the aforementioned ideas. But if you truly love this poster, you want to hang it on your wall at any cost—if that means saving up to get it done right the first time, then so be it.
You will absolutely need the YOUHANGIT Designer Kit, because you will need at least two if not three YOUHANGIT sticky, squishy thingies, and of course, you will also need to use the hands-free level, the YOULEVEL to ensure that when you’re making the markings for the hardware, they are perfectly level—the larger a piece of artwork is, the more obvious it is to be crooked—take every precaution with our handsfree level to ensure the piece in its entirety (or the smaller pieces if you went with the slicing and dicing method) are level.
And lastly, if you do use the old school film projector screen as the canvas upon which you lay your sweet poster, you will need to use screw anchors, as the top of this equipment is actually quite heavy. You don’t need your friend Phil heading off to the ER just because he was sitting under Pacino’s visage. Otherwise, you can probably get away with using our Sexy Metal Hooks, and you may want to consider using DISC adhesive D-rings as your hardware for hanging the window shade option discussed above.